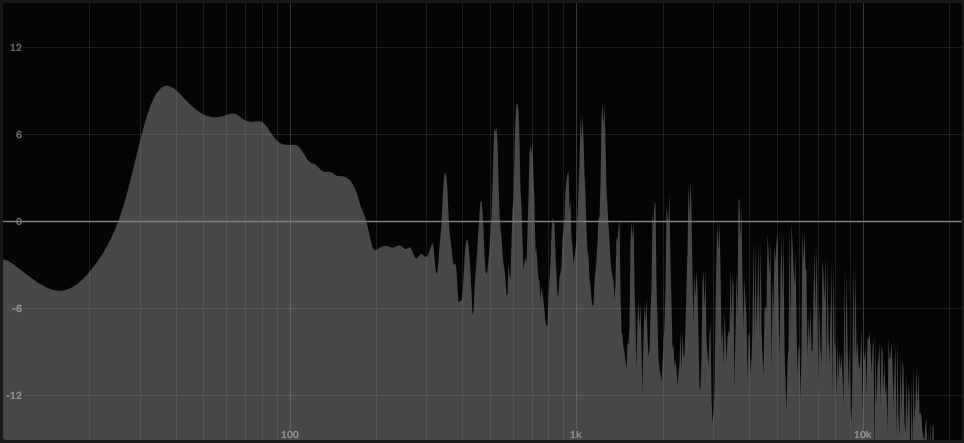
I’ve a newfound respect for the bassline of a song. In the past, my bass consisted mainly of slapping on a low-pitched sign wave, maybe with a little distortion I didn’t know what to do with.
The result was a sound that gave some body and depth to what I was producing, but little substance otherwise. For anyone playing off laptop speakers, it was basically invisible.
Lately though, I’ve started to play with how to make the bass – and every track in my songs – more audible, no matter what kind of interface the listener is using. Basically, how to make some part of each track ‘poke out’, like an iceberg.

I like the iceberg metaphor, because it encapsulates two things really well: The ‘visible’ part is easily spotted above the surface, and the rest gets masked underwater.
Likewise, a track in a mix has the part you hear easily, and the rest – often the majority – that is more embedded in the mix. It’s not that it’s inaudible, just that it literally mixes with other sounds playing at similar frequencies and/or volume, so it isn’t as clearly distinguished.
The word ‘slurry’ comes to mind.
So, how to make a sound stand out? To put it simply, it comes down to volume:
1.Increase the actual volume. This is the worst solution, because making one track louder will likely just cause it to mask other tracks, which then cause you to raise their volume, and so on, until you blow out your speakers.
2. Increase the apparent volume. A screech sounds louder than a purr, even at the same volume, because it’s rougher, more abrasive. Likewise, a distorted electric guitar can easily punch through, say, a soothing synth pad.
Commercials use this trick to catch your attention… It’s also one of the reasons they’re so annoying.
3. Increase volume for PART of the sound. Using some EQ magic, anyone with a DAW can easily isolate and boost certain frequencies of the sound that are otherwise lacking in the track. This may cause the sound to seem worse when played solo, but great in the context of the song.
You can also apply these solutions in reverse – by dropping the volume of other tracks, frequencies, etc. But lets assume the rest of you mix is already where you want it, shall we?
As I mentioned, option one is a poor choice. Option two can be created primarily through plugins with dials like drive and saturation on them.

These plugins cause the sound to distort (read: add additional frequencies), making the sound more noticeable, without touching the volume knob.
Higher frequency sounds tend to be more obvious to our hearing than lower frequencies, so combining this with option three can be particularly effective.
Option three can be implemented, either by EQing your master track and checking where frequencies are lacking, then boosting that area, or by making room for the buried track by lowering the frequencies it plays at on other instruments in its frequency range.

Or you could just do an EQ sweep, which means greatly increasing the volume at a specific frequency, then gradually turning the knob to ‘sweep’ it across the frequency spectrum until you find where its most audible. Finally, turn the volume back down until it fits the mix.
All this said however, it’s okay if some instruments aren’t easily heard – the sub bass for example, is more often felt as that awesome rumble in the ribs, than as something audible.
Knowing these tricks though, should help your listeners hear what YOU want them to hear – not just whatever happens to be there.
Credits:
‘Black and Brown Audio Mixer’ by Dmitry Demidov from Pexels
‘Iceberg in Body of Water’ by Jean-Christophe André from Pexels
‘Man ride motorbike on road’ by Rachel Claire from Pexels

